
How To Vector for Christmas
An overview of my collaboration with Murphic Industries

So it turns out I’m not very good at regular blogging, even when I’ve got a tight structure to hold to. I think maybe I made it a little bit too ambitious. I’ve spent the last year or so hiding from the Blinking Text Box but it occurs to me that I’ve been working out a new art process, and Substack might be just the right place for a one-off explanation.
For context, the man who runs Murphic Industries recently approached me with a collaboration: he’d picked up a laser engraver, and felt that my designs would be a good fit for etched Christmas ornaments. And I was thrilled! I’d been spending the last little while working on my vector skills, too, so that worked out.

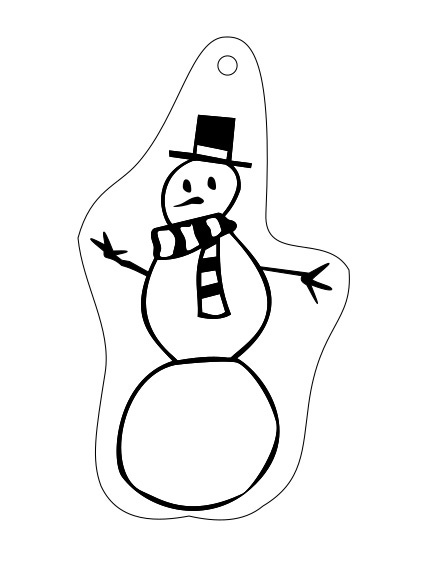
But it turns out that making proper files for etching is slightly different from making the vector graphics designed to look nice on a screen. For instance, the etcher doesn’t really register lines as a thing—only shapes. Which would work just fine for Everybunny’s Princess up there, but what about a more complicated image?
Well, here’s where I had to dig into the program options and find out a good process.
For background, I use Inkscape, a free vector program. Like most everything else in my artistic life I’ve got absolutely no training with it, but just hit different options with a hammer until something I like comes out. My previous efforts had gotten me pretty comfortable with bezier curves and all those sorts of things, but this was going to require I get a lot more comfortable with different options in the menu bar.
PLEASE NOTE: One of my buddies suggested that I use the Trace Bitmap option, where the program automatically converts your raster image into a vector image. I’m not entirely sure of my resistance to the idea, except that it always seems to result in eighteen thousand corners and… I dunno, that makes me itch a little. The process I came up with takes hours, but the resulting image only has corners where I placed them, darn it! >.>
anyway
Let’s take the image I’m currently trying to adapt for an ornament: Pirate Santa!

Back in 2019 or so, my daughter was very sure that Santa Clause said “HO HO HO and a bottle of rum!” Which informed my Christmas card for that year and also ensures we leave cookies and rum for Santa every Christmas Eve… and also leaves me this picture that should absolutely make a good ornament, if I can only simplify it to a black and white ornament!
So I decided to start at the face—I traced the lines around the outside of his face. Then I duplicated the lines, shrunk them a little, and moved them around a bit until they got basically where I wanted them.

And then I used Exclusion

For context, these are all different options for how to make multiple paths into one path or shape. I’ve only used a handful of them—”Object to Path,” “Union,” “Exclusion,” and “Combine” are my main go-tos. And I don’t even really understand how they work completely—again, my method is hitting things with hammers.
But Exclusion is very useful for this project, because it’ll take the outside shape and *subtract the inside shape*—leaving a shape that looks like the line I want!

This isn’t a *perfect* method. For one, it leaves me with a lot of overlaps that cause issues with the etching software.

This is one of the early images Murphic Industries sent to me as we hashed out the requirements of this project. The red parts, he explained, are where the etching arm moves; the black parts are what actually gets etched. And so when you’ve got multiple shapes over the same space… it’s not going to be etched.
But you remember the Path menu up there? “Union” is actually the option that turns a bunch of different strokes into one stroke, where they’re all visible but none are overlapping! You might need to massage it a bit more after that, but I haven’t had much in the way of problems.
And that’s it! You’ve got your image!

…well, no, there’s actually a lot more things than that. The “outside cut” (including the hole) needs to be on a separate layer, so that the etching program knows to cut instead of etch with that stroke. You need to delete the image you’ve been tracing over. (It turns out the etching program still sees it even if it’s invisible! …I, er, only failed to do that three times before I started remembering.) And then if there’s something REALLY complicated, like (I don’t know) a squirrel in a Santa hat holding a candy cane, then I found the “shape builder tool” very useful (I can do a post on that if you want, but I am not at all sure I’m using it right)…
But if you get it all right, then in a little bit of time you might be looking at this guy:

Which you can, should you wish, buy for your very own here: Christmas Squirrel Wood Etch from Murphic Industries
Merry Christmas!